Table of Contents
- #Step 1: Create an S3 bucket and a CloudFront distribution
- #Step 2: Create a public private key pair & upload the public key to CloudFront
- #Step 2-a: Upload the public key to CloudFront
- #Step 2-b: Add the created public key to a key group
- #Step 3: Add a signer to the CloudFront distribution
- #Step 4: Create a signed URL in your application
- #References
Sometimes you may want to keep your content served via a CloudFront distribution private by default, only allowing certain users to access it, based on certain conditions or for a particular time. One way to do this is by using signed URLs to access your CloudFront distribution. This is a simple, yet effective technique that can help ensure the security and privacy of your content.
It’s easy to use presigned URLs for S3 Bucket directly, but not that straight forward for using presigned URLs with CloudFront. I could not find a good tutorial on this topic, so I decided to write one myself. In this tutorial, we will create a new S3 bucket, upload a file to it, and then create a CloudFront distribution to serve the content from the S3 bucket. We will then use signed URLs to access the content from the CloudFront distribution. Let’s get started.
Step 1: Create an S3 bucket and a CloudFront distribution
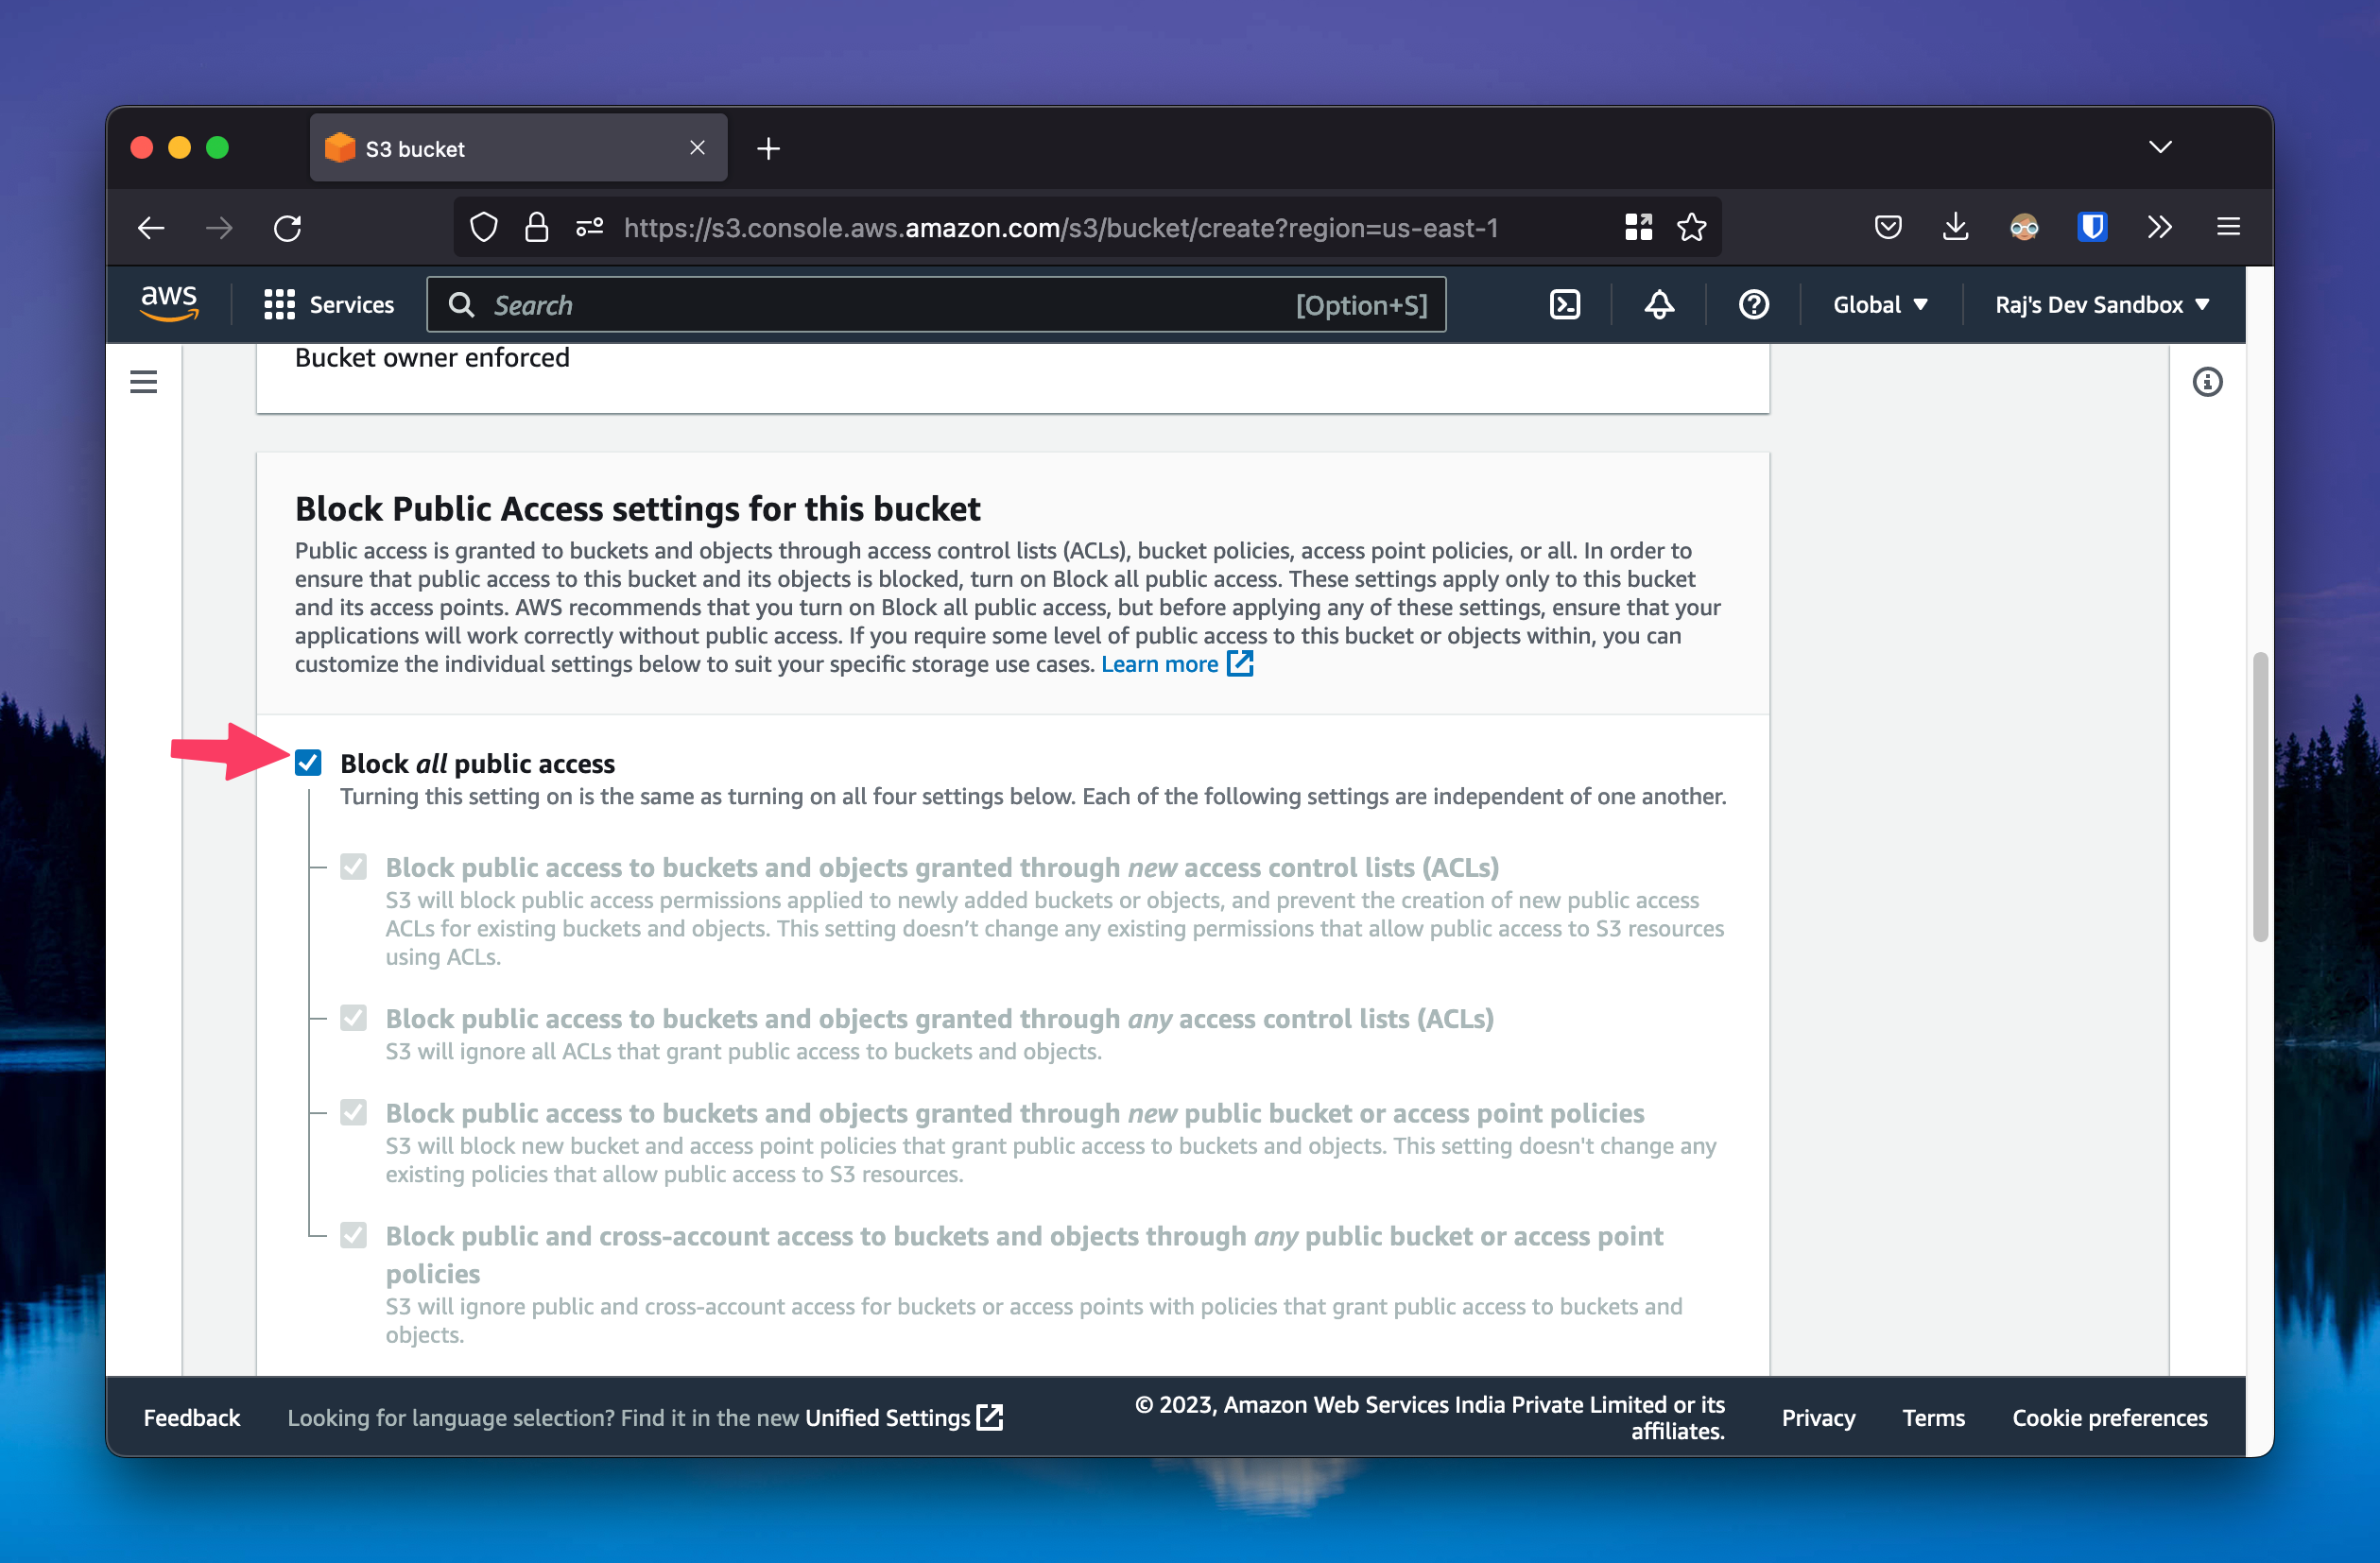
First, create a new S3 bucket. I’m calling mine arctic-monkeys. You can go with the default settings. Enable the setting to Block all public access to the bucket, so that the bucket itself is private by default.
Next, upload a file to the bucket. I’m uploading a file called image.jpg.
Now, create a CloudFront distribution to serve the content from the S3 bucket. Select the S3 bucket you just created as the origin. You can go with the default settings. In “Origin Access” setting, select Origin access control settings (recommended), create a control setting.
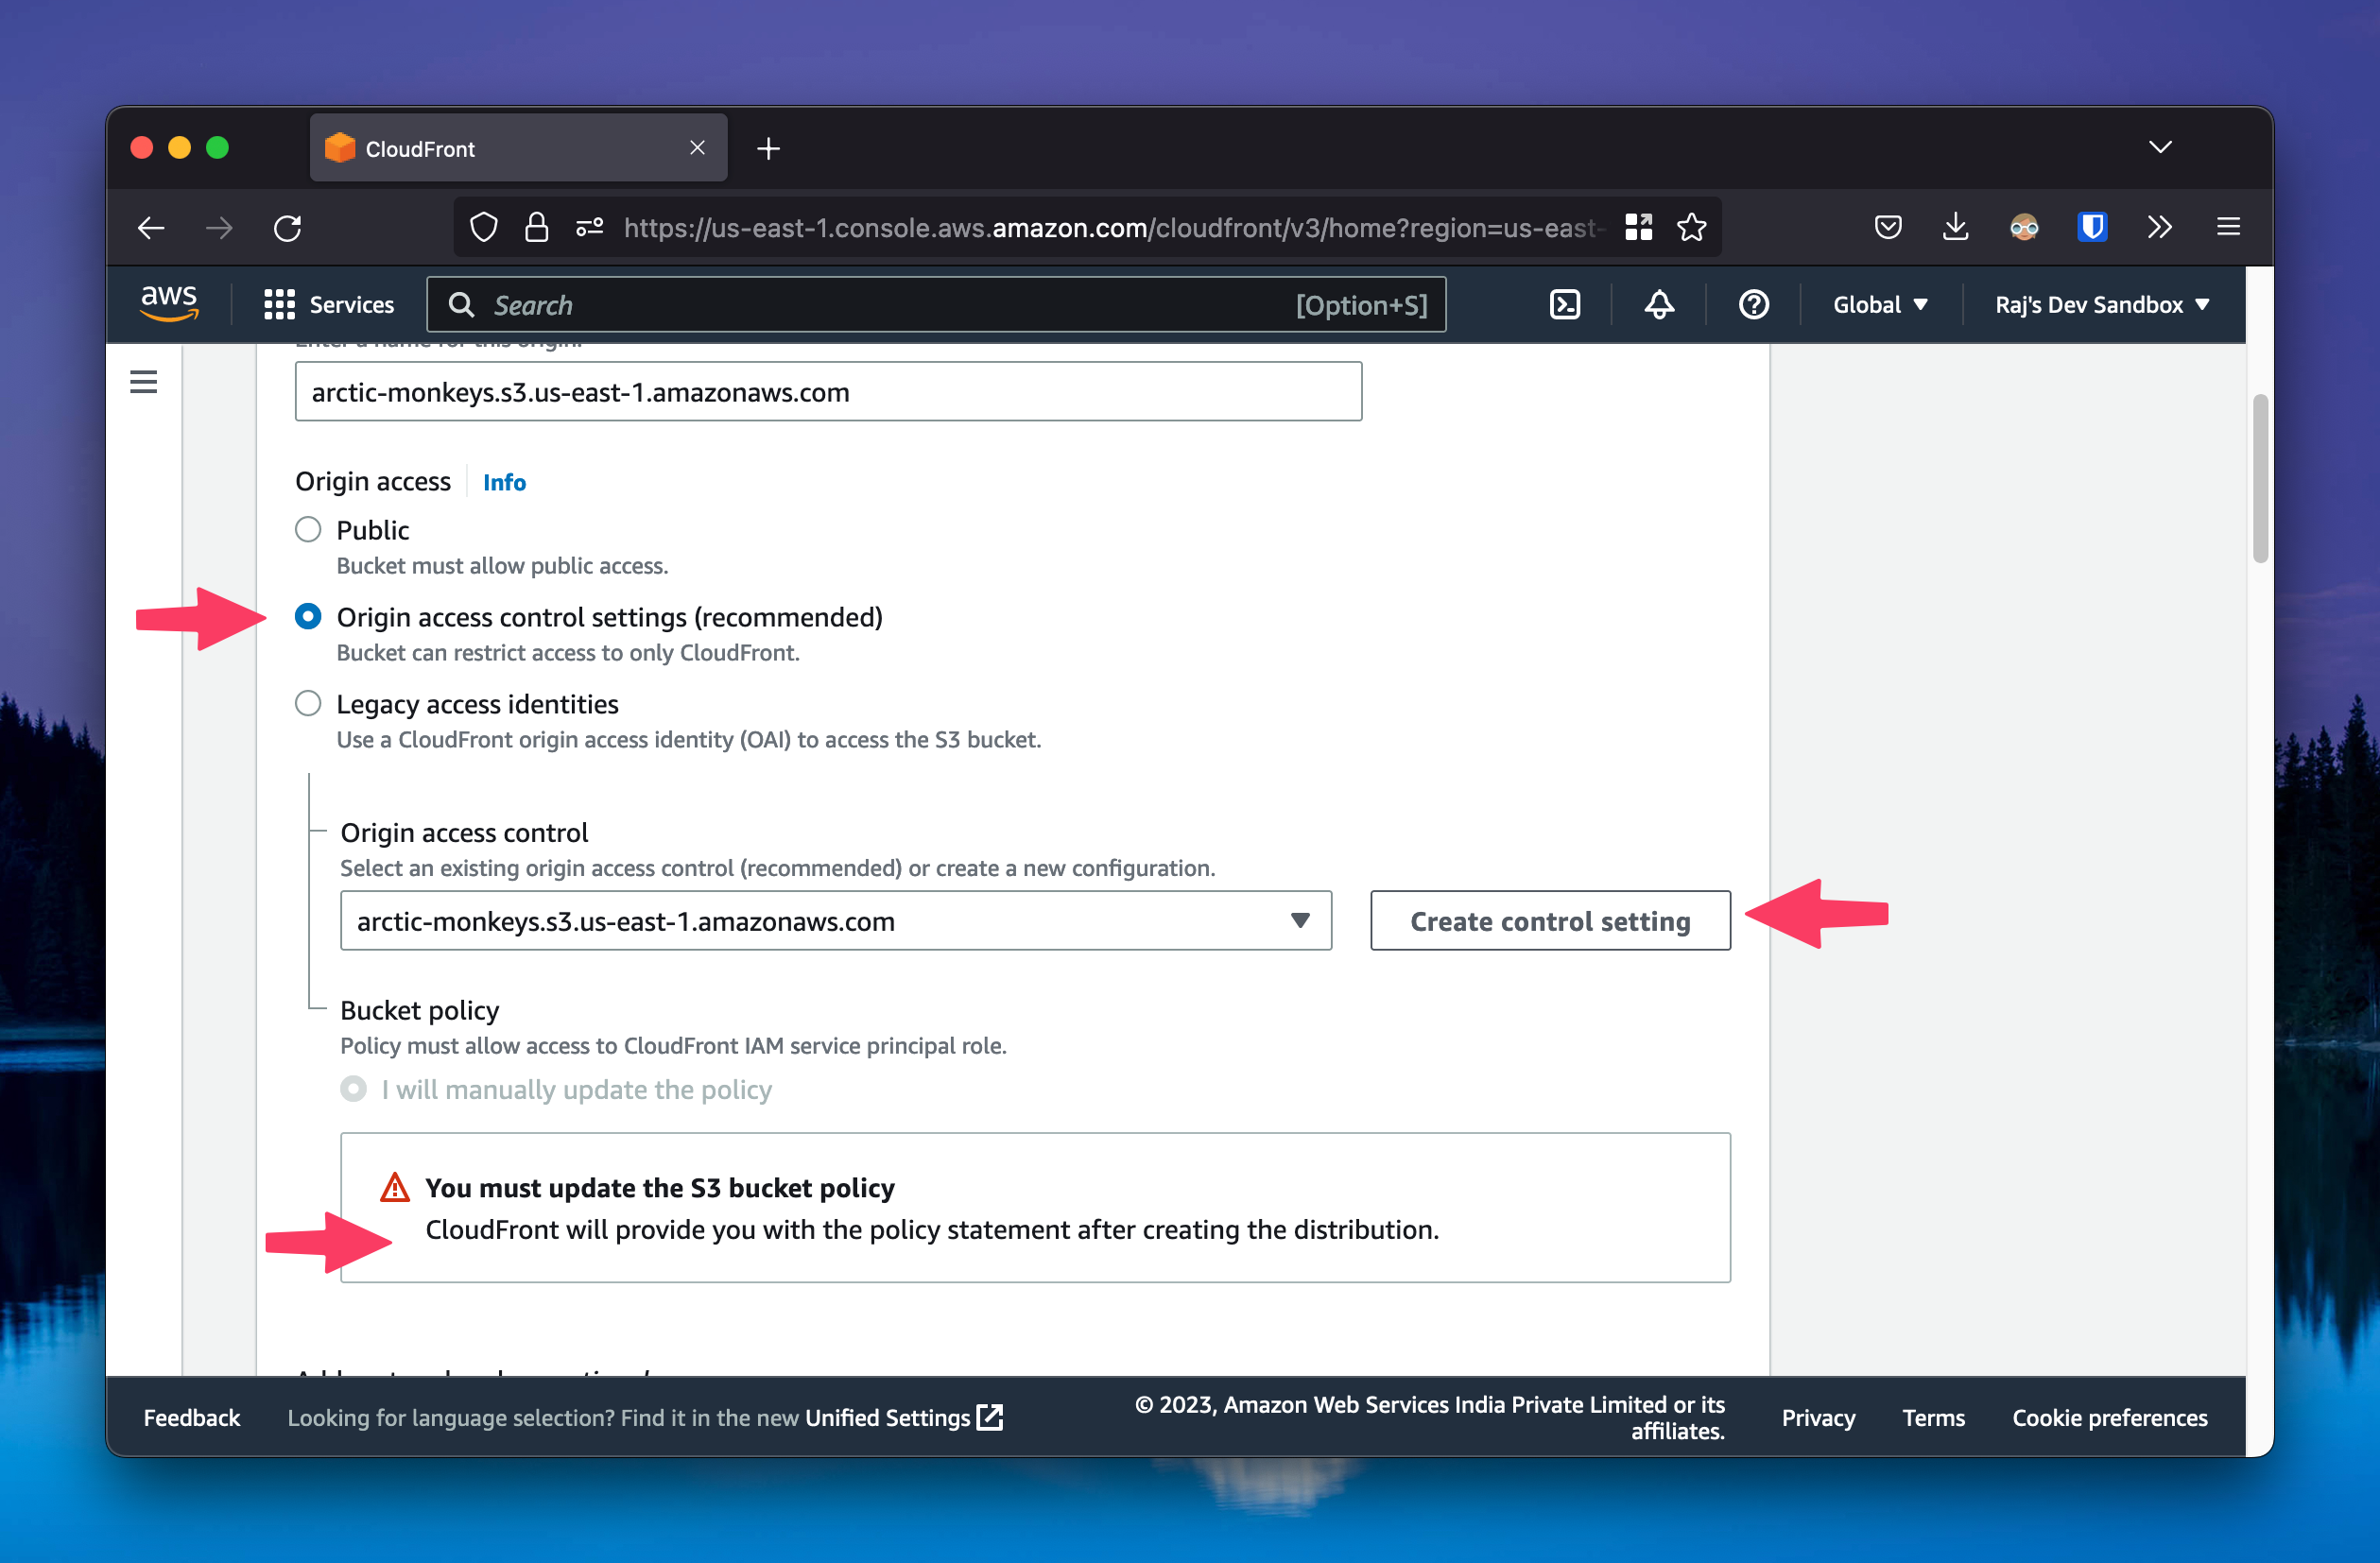
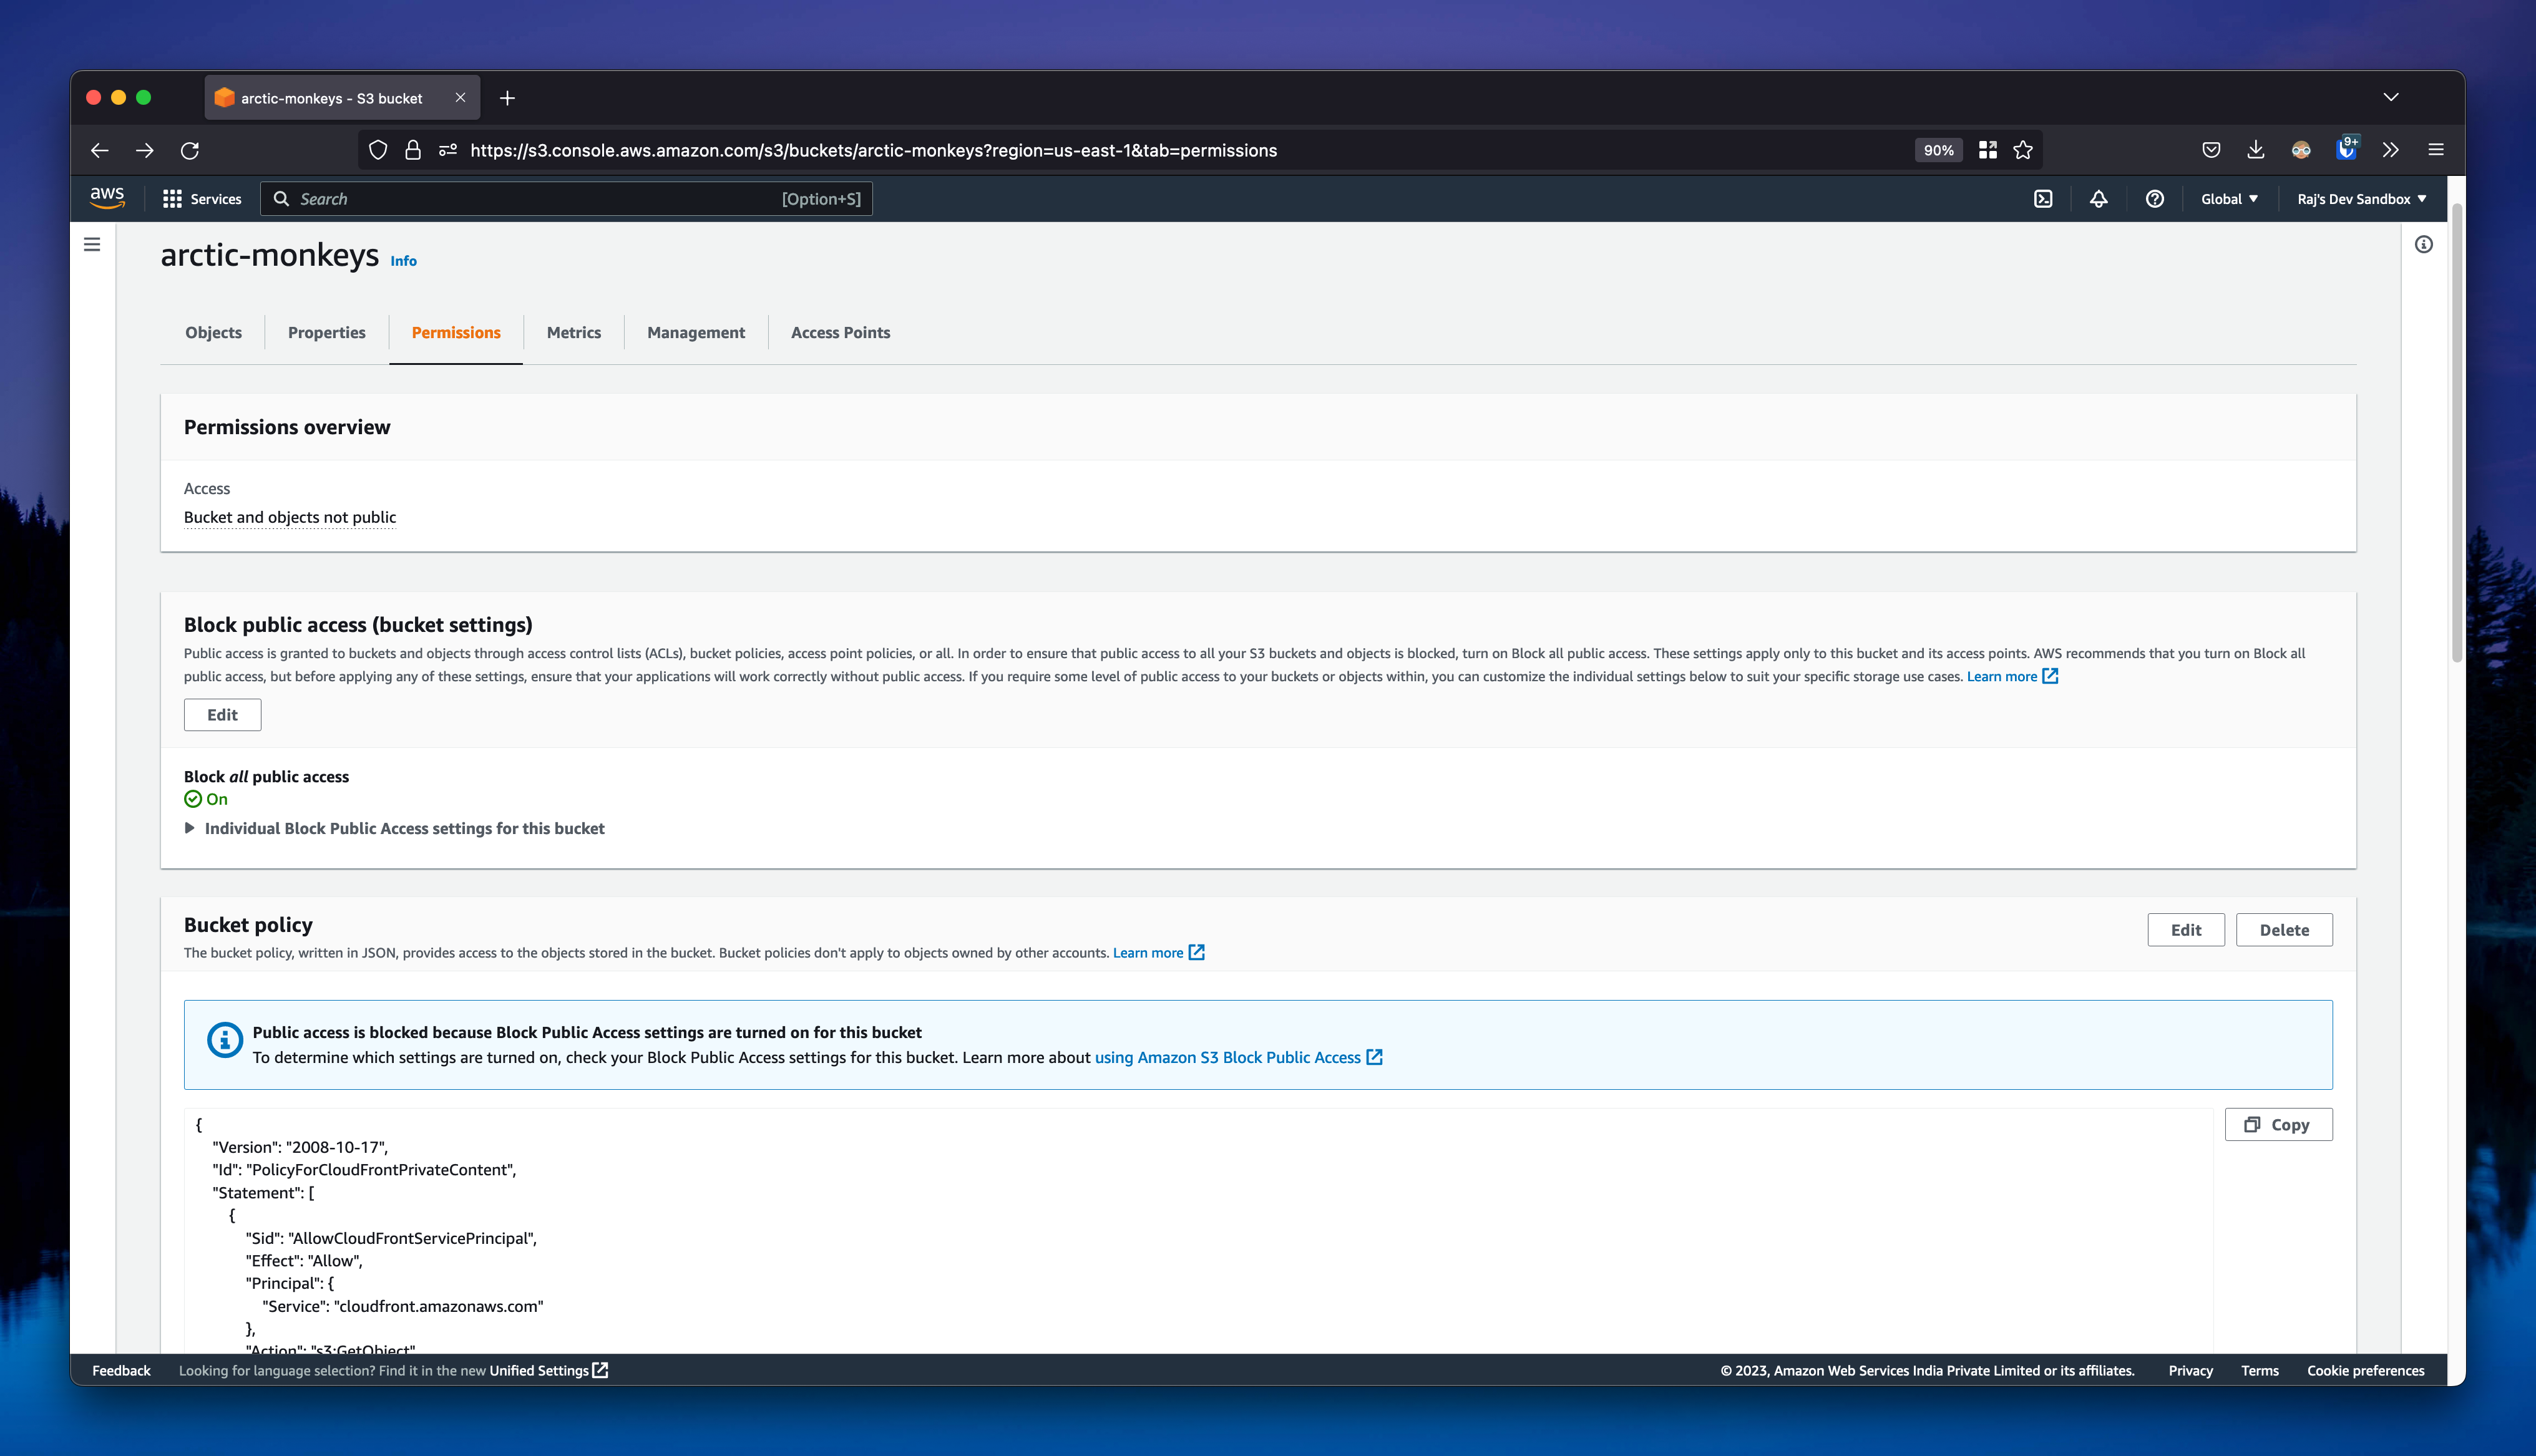
Create the distribution, it will give you an option to copy the S3 bucket policy. Copy the policy and paste it in the S3 bucket policy editor. This will allow CloudFront to access the S3 bucket.
Step 2: Create a public private key pair & upload the public key to CloudFront
Now, we need to create a public private key pair. We will add the public key to the CloudFront distribution, and use the private key to sign the URLs. We will use OpenSSL to create the key pair. Open a terminal and run the following command to create a private key.
openssl genrsa -out private_key.pem 2048This will create a file called private_key.pem in the current directory. Now, run the following command to create a public key from the private key.
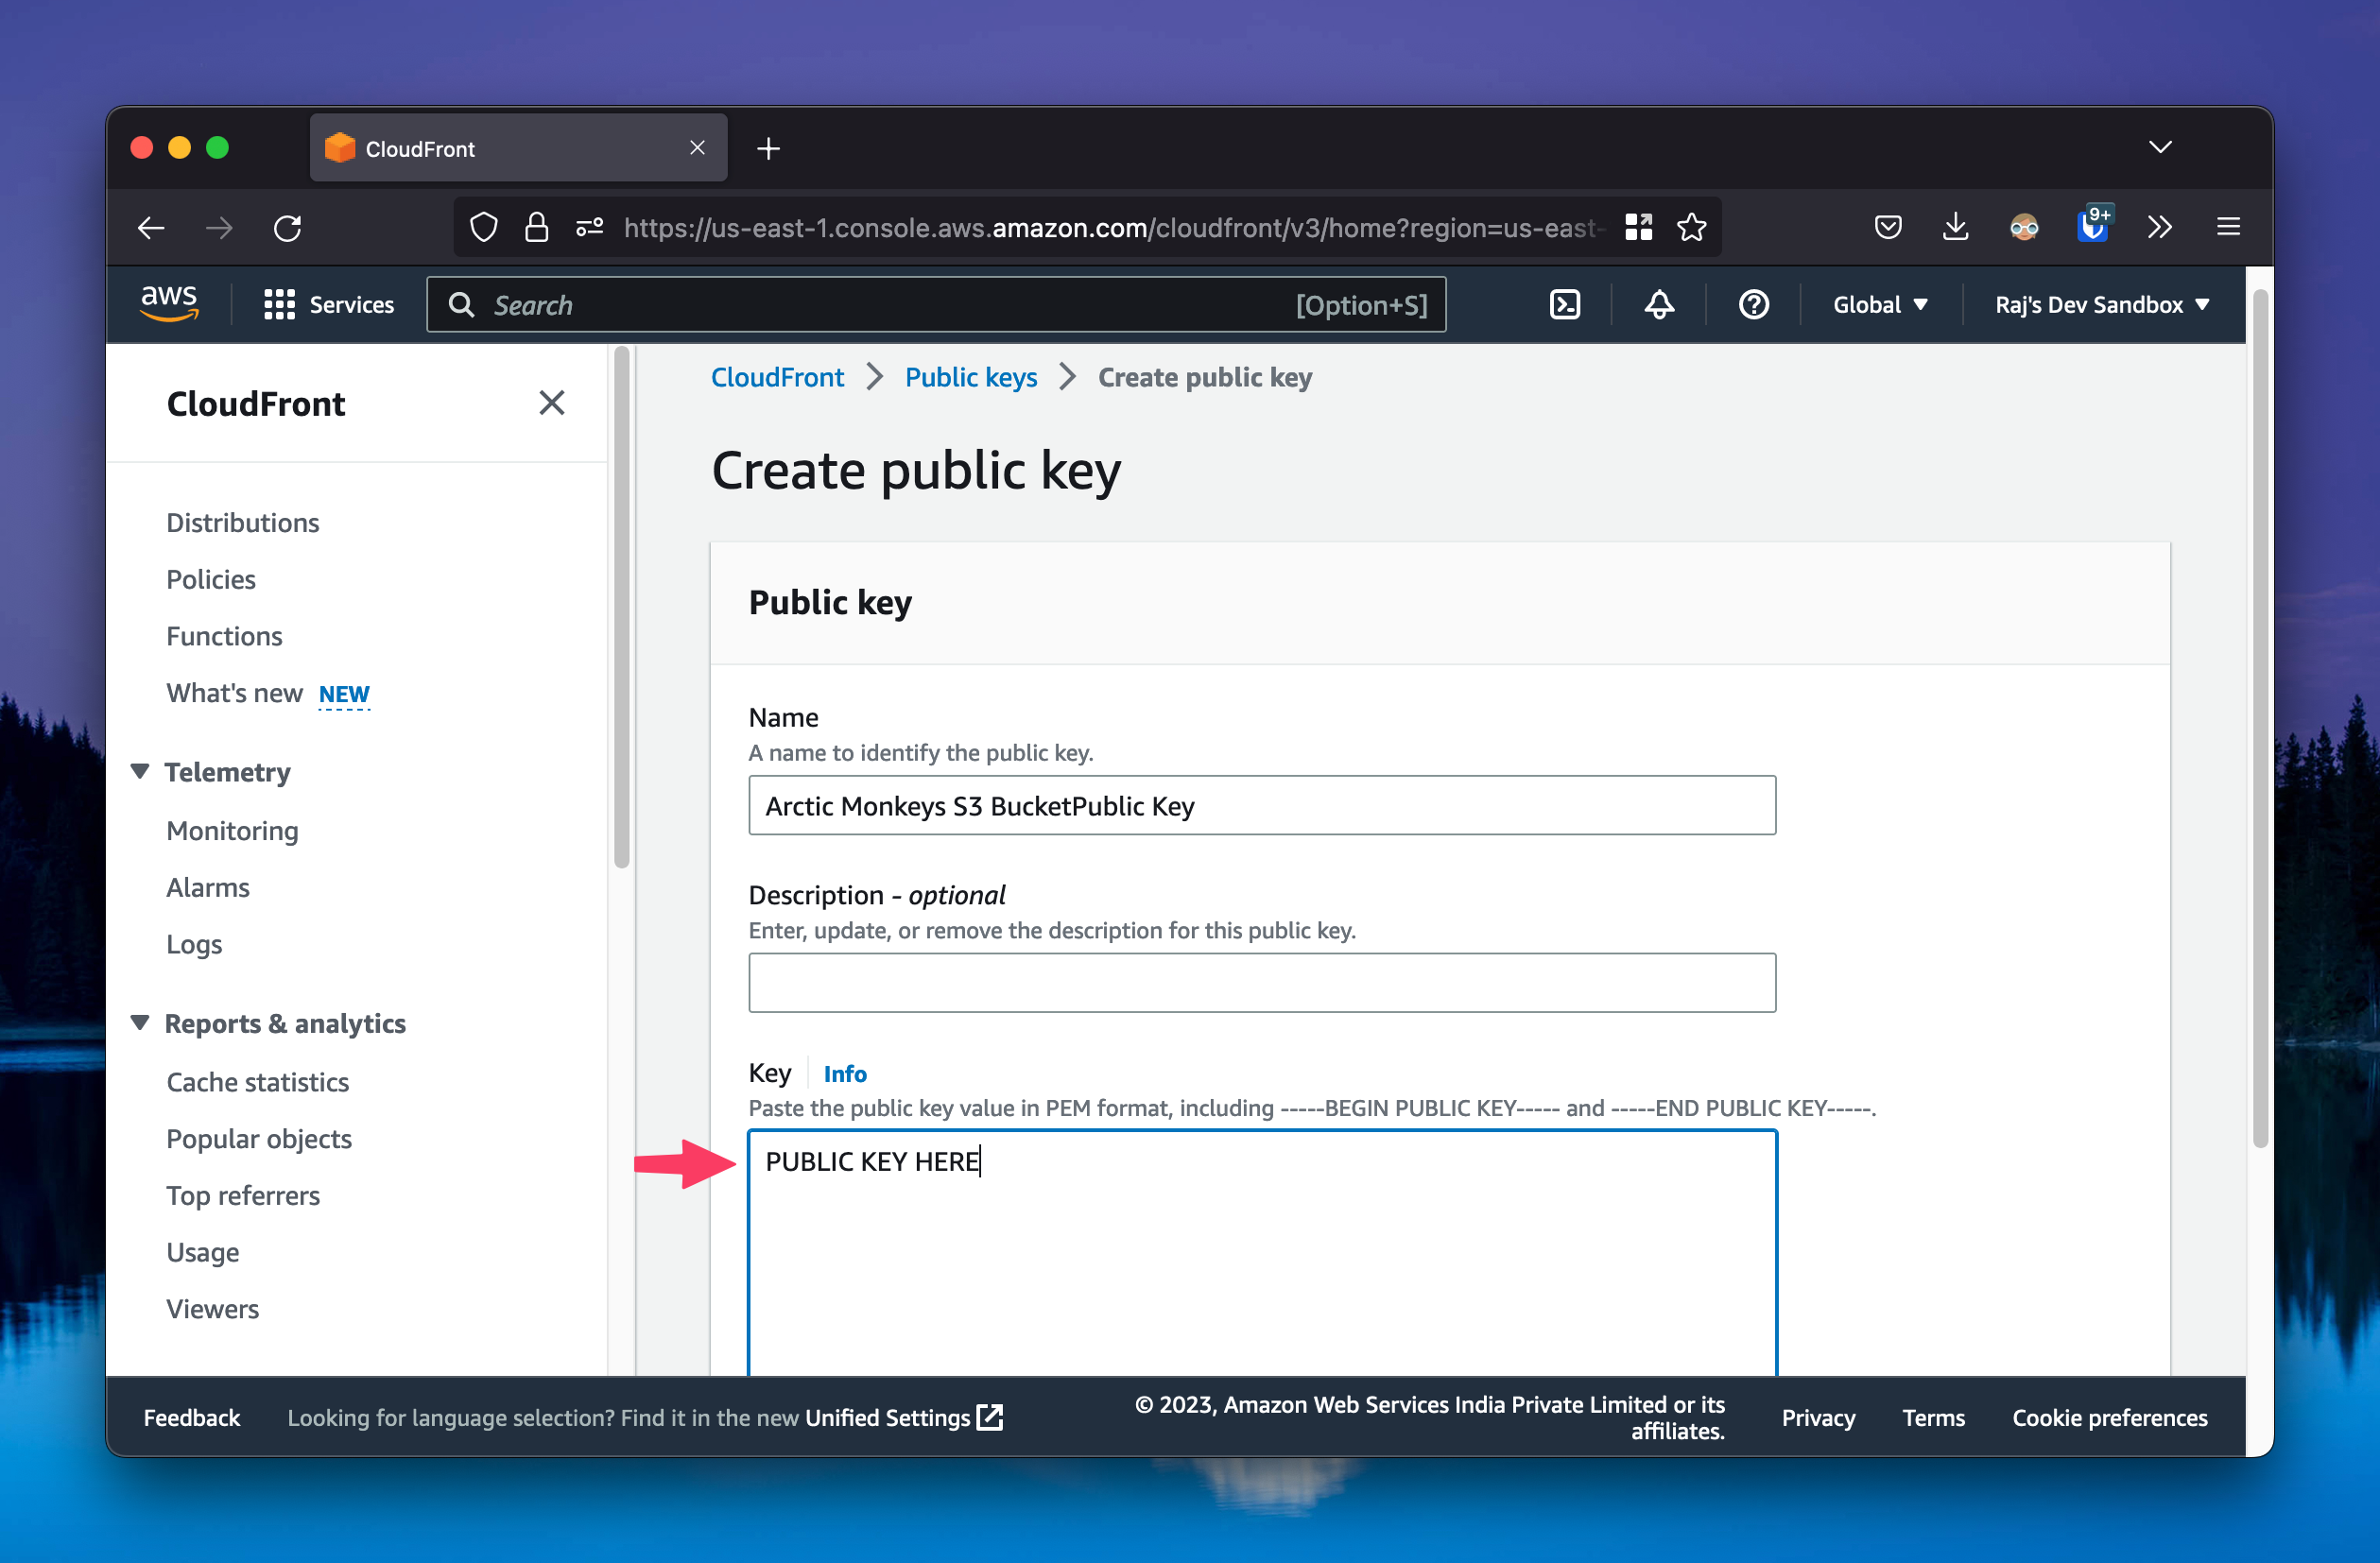
openssl rsa -in private_key.pem -pubout -out public_key.pemStep 2-a: Upload the public key to CloudFront
This will create a file called public_key.pem in the current directory. Now, we need to add the public key to the CloudFront distribution. Go to the CloudFront distribution you created in the previous step, and add the public key ->
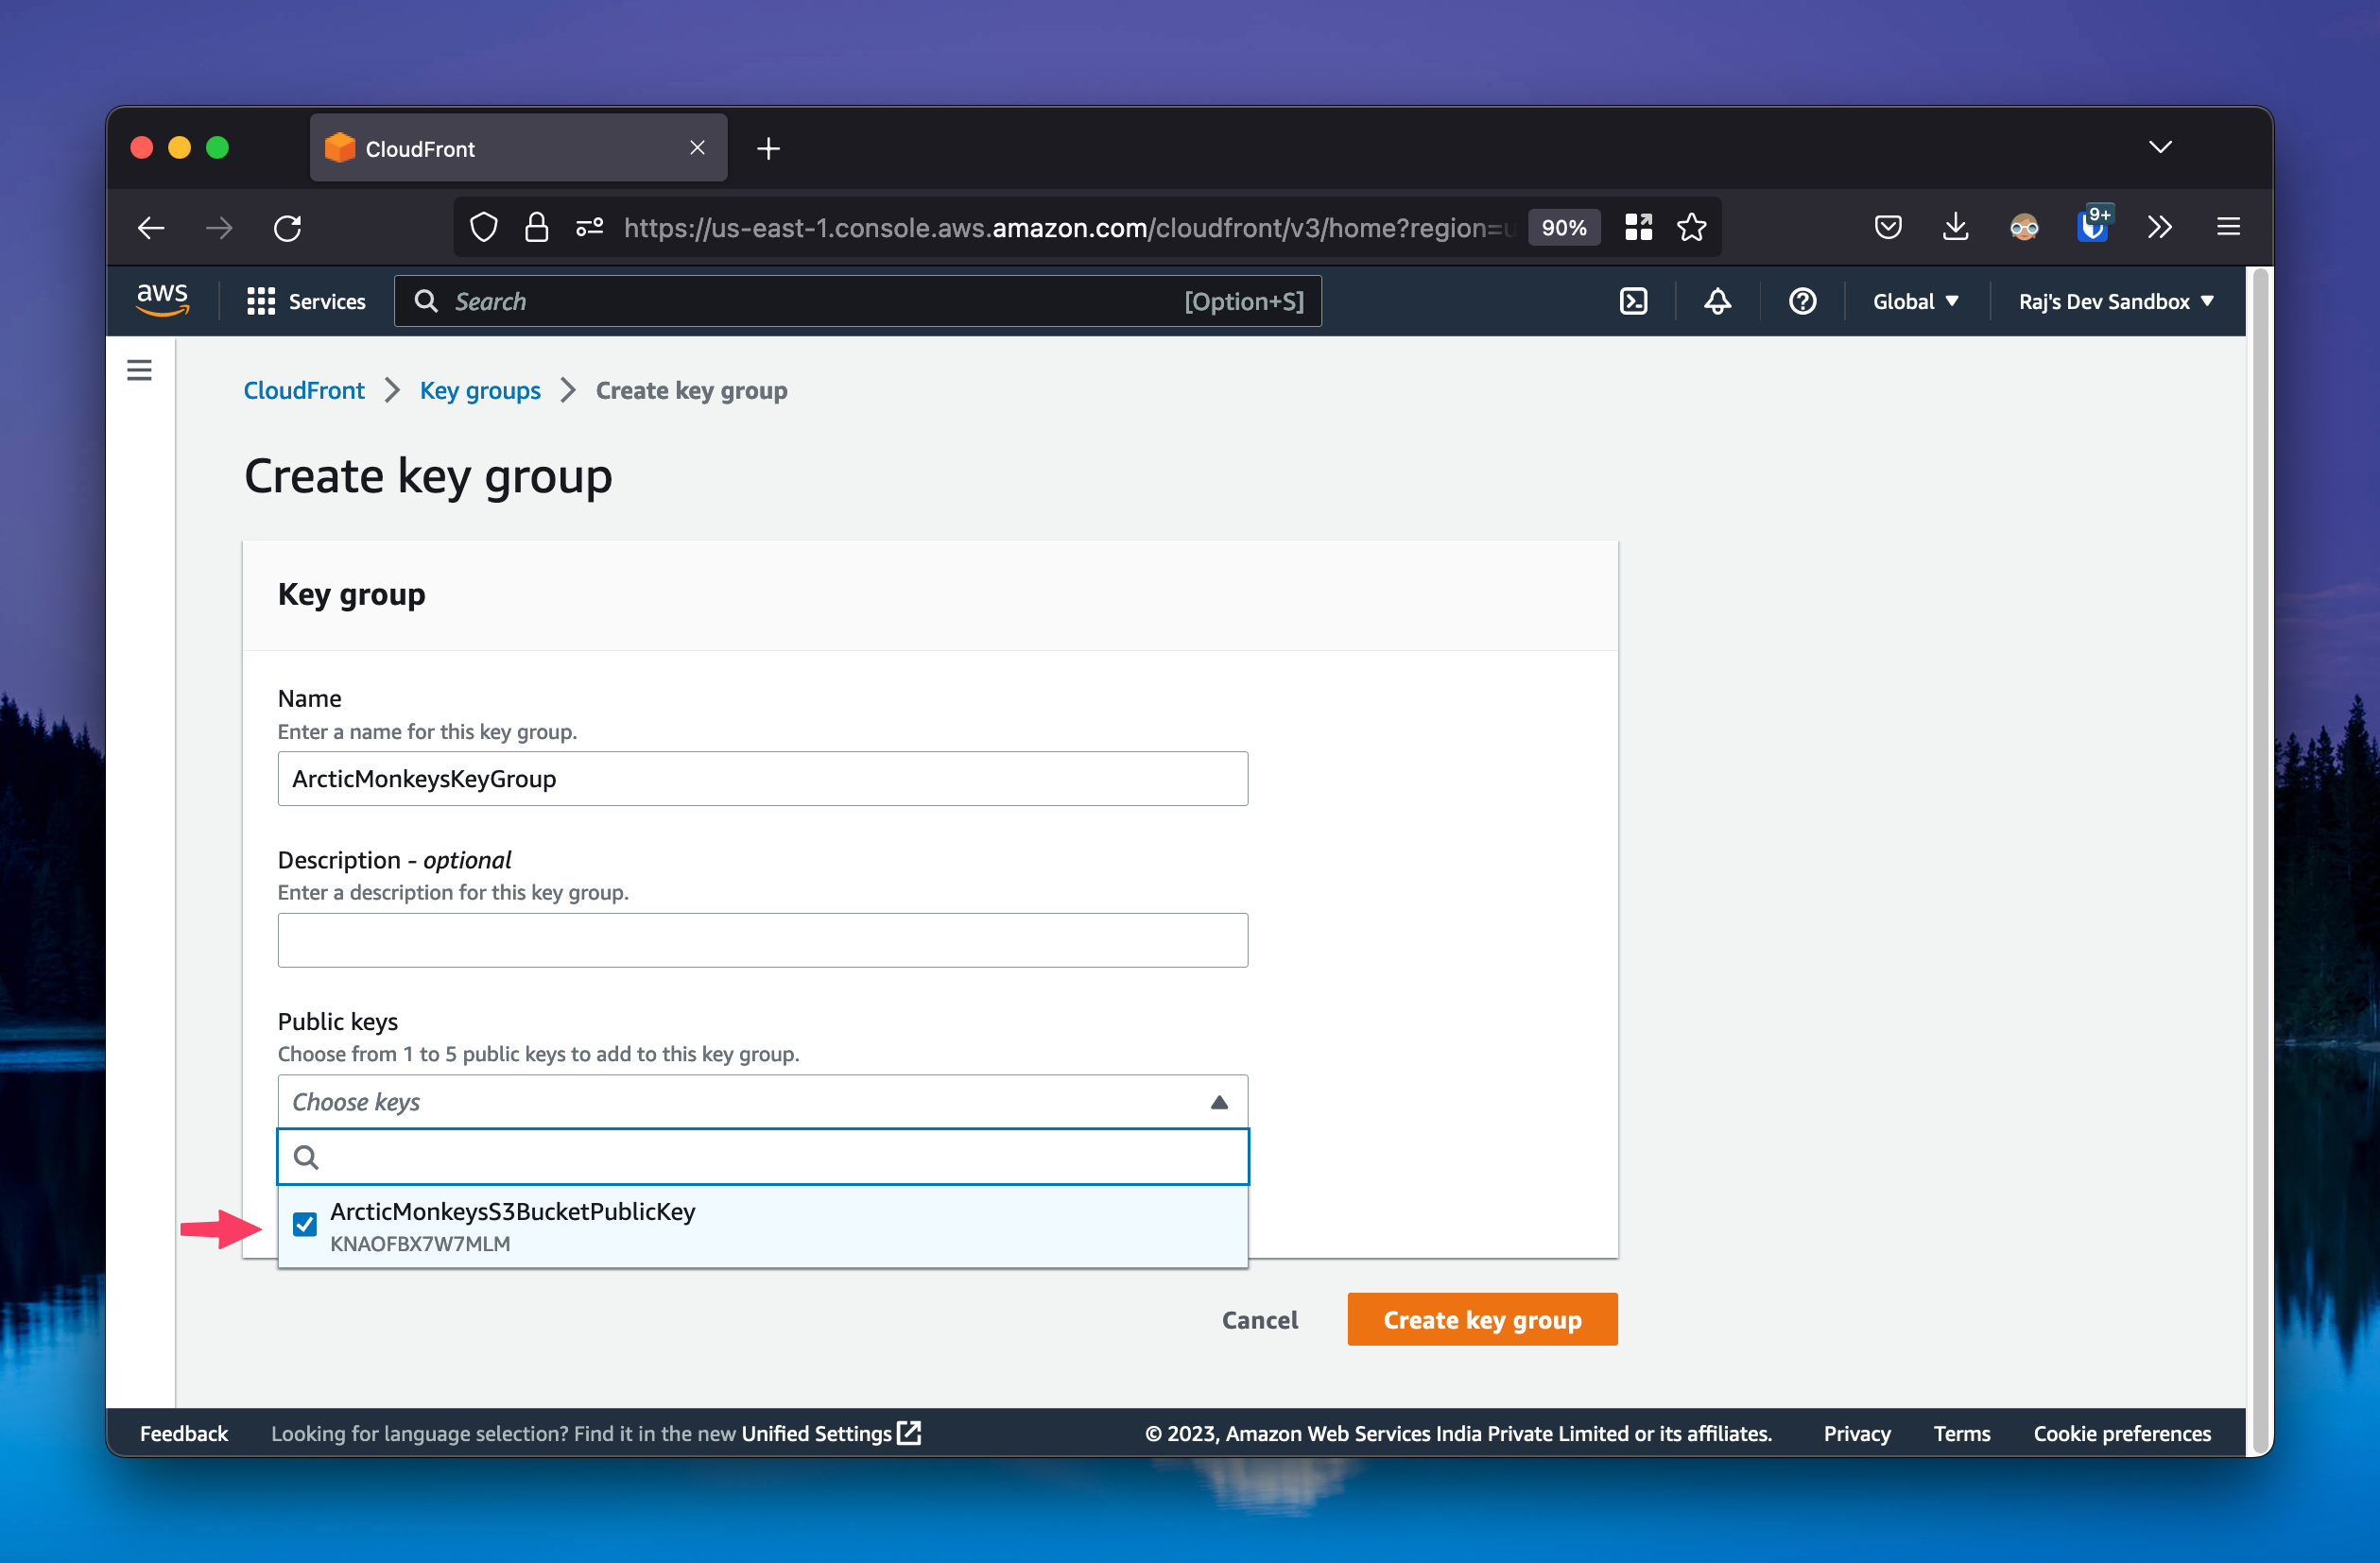
Step 2-b: Add the created public key to a key group
You can do this by going to the CloudFront console -> Key groups -> Create key group. Give it a name, and add the public key to the key group.
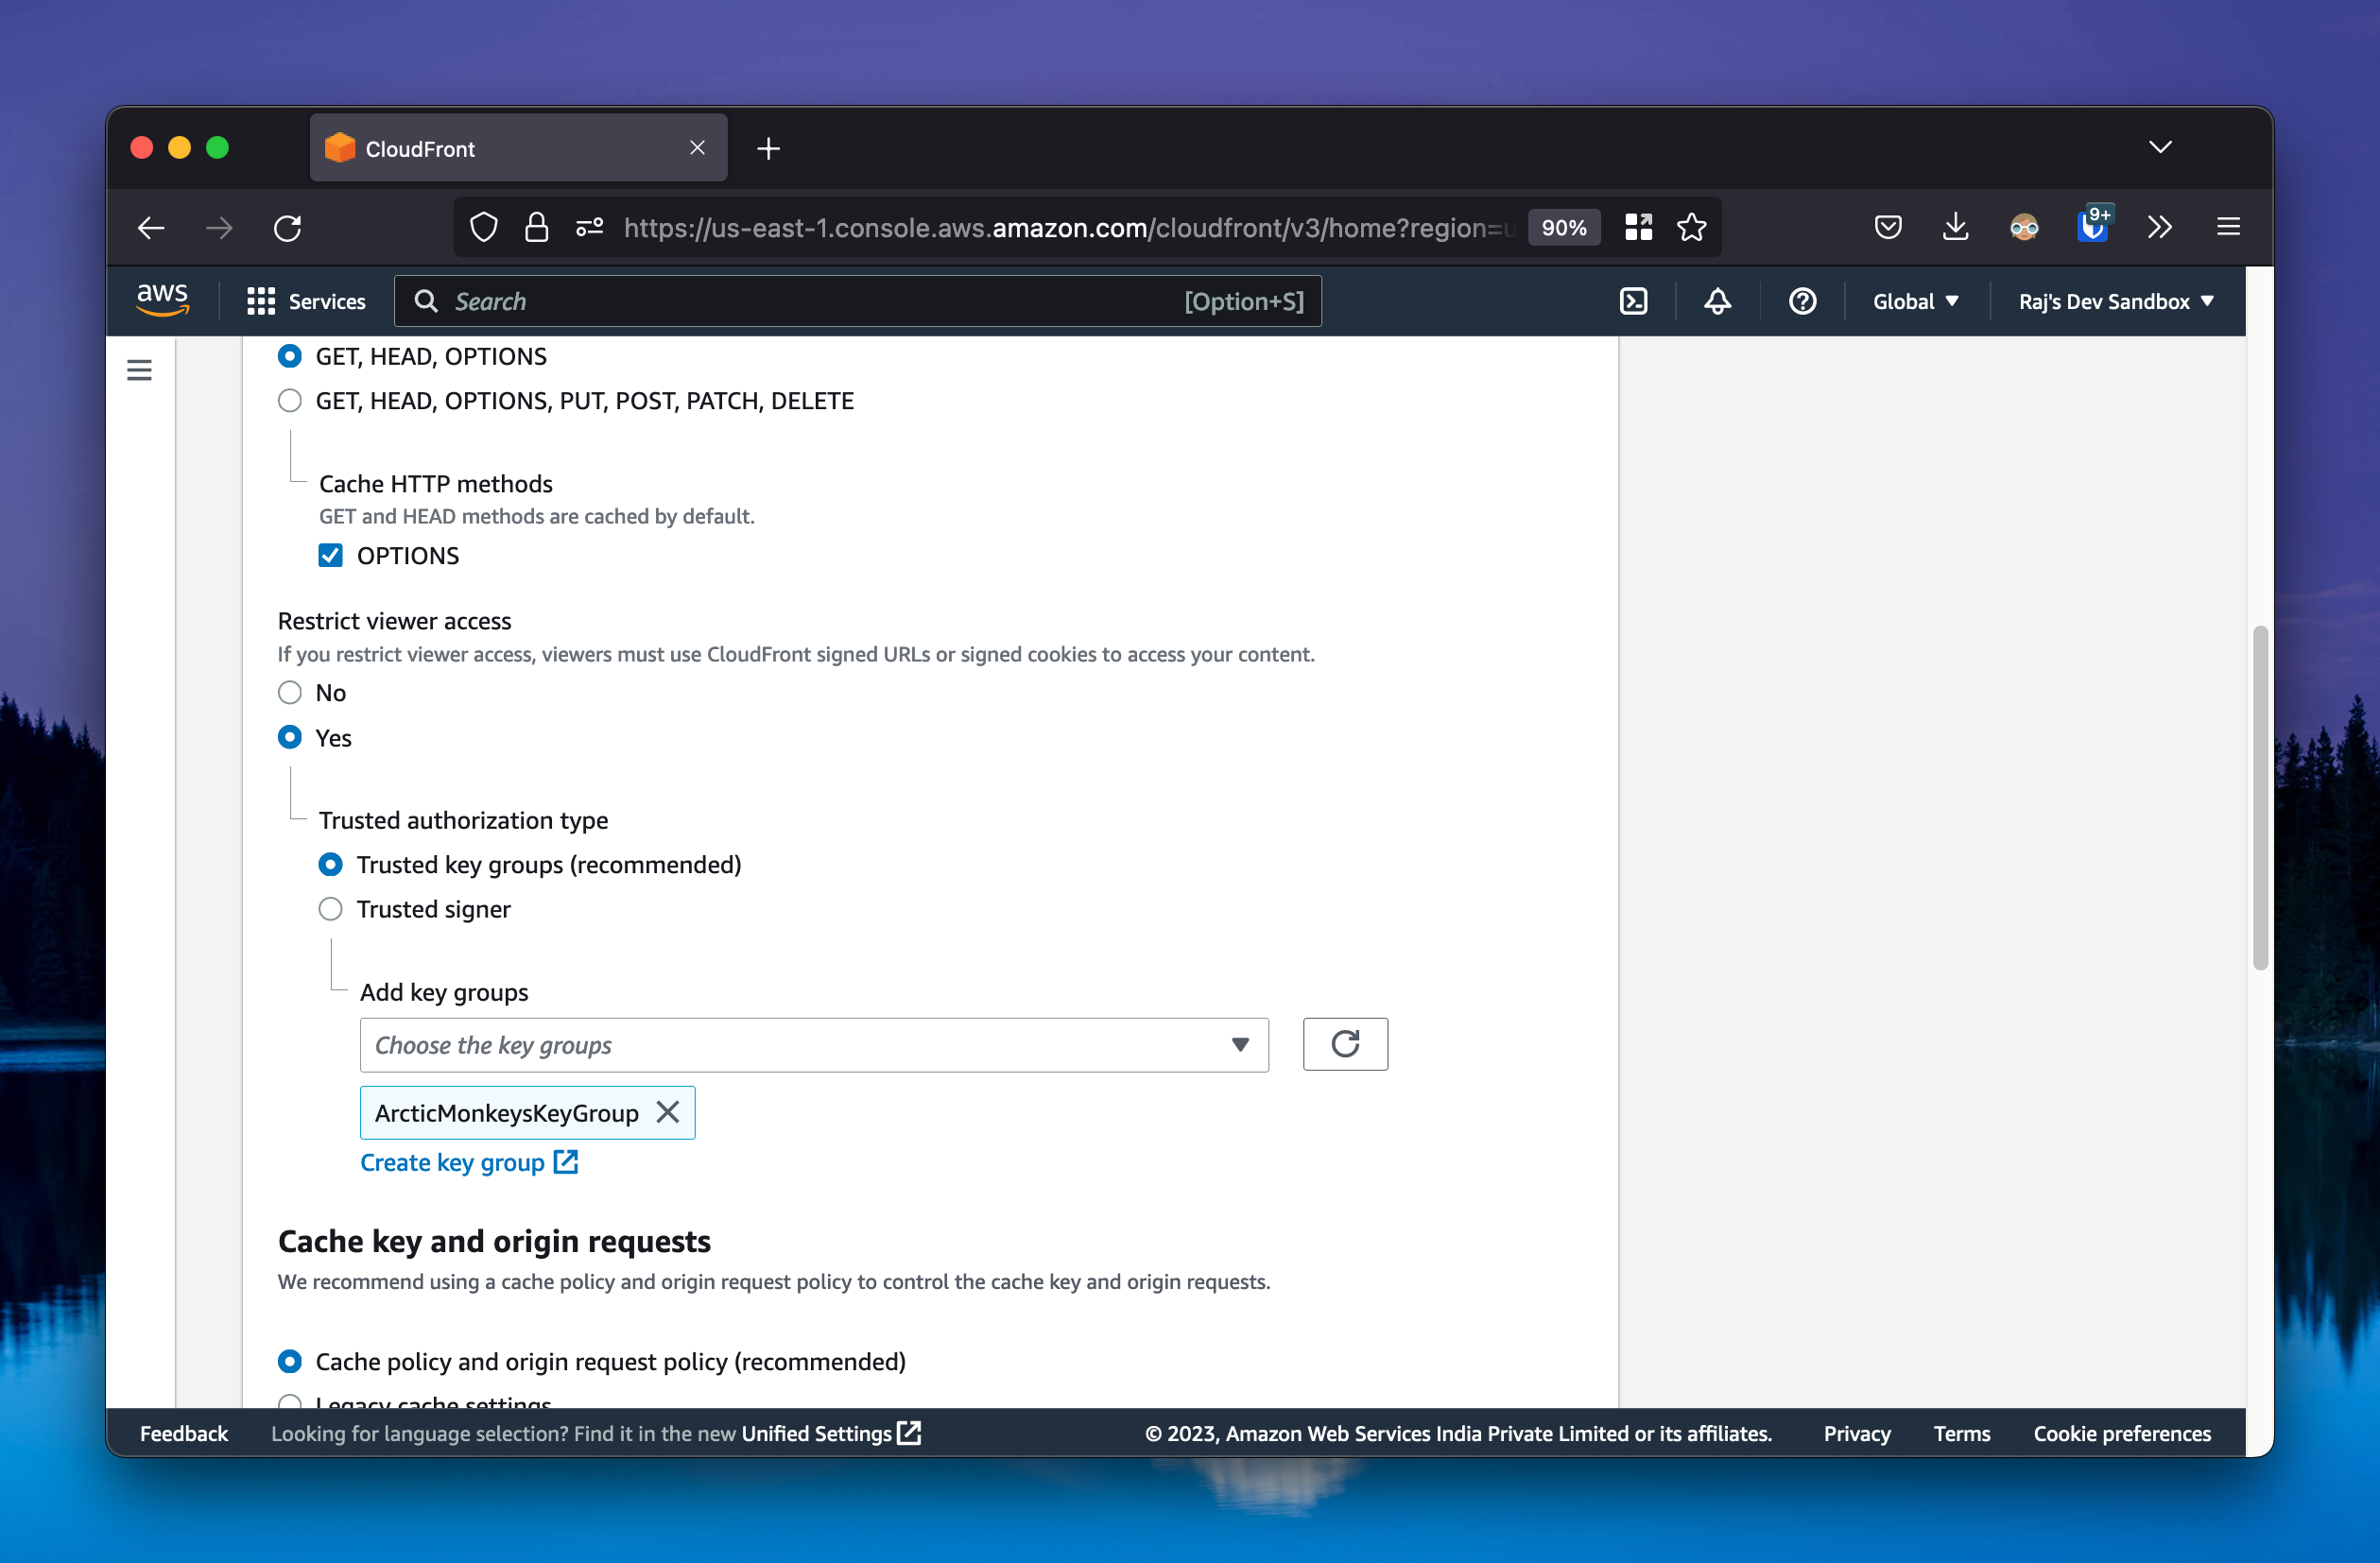
Step 3: Add a signer to the CloudFront distribution
A signer is the trusted key group that can create signed URLs for a distribution.
Go to the CF distribution. In the “Behaviors” section, click on the “Edit” button next to the default behavior. In the “Viewer” section, set “Restrict Viewer Access” to “Yes”. Set the trusted authorization type to “Trusted Key Groups” and select the key group you created in the previous step. Once you do this, CloudFront will only allow signed URLs to access the content, and will reject all other requests.
Step 4: Create a signed URL in your application
Now, we need to create a signed URL in our application. The private key we created in the previous step is used to sign the URL.
Based on the language you are using, you can use the following resources to create a signed URL.
That’s it. You can now use the signed URL to access the content from the CloudFront distribution. If you try to access the content without the signed URL, you will get a 403 error.
That’s it for this tutorial. I hope you found it useful. See you in the next one.
References